“I don’t grow anything in my greenhouse, I shrink rocks.” -Maximillian Crothers
In the past I used all the best weather days for sculpting. Now I wait for bad weather and go inside. Here’s how I made space to work in cold weather, I hope other members find it useful.
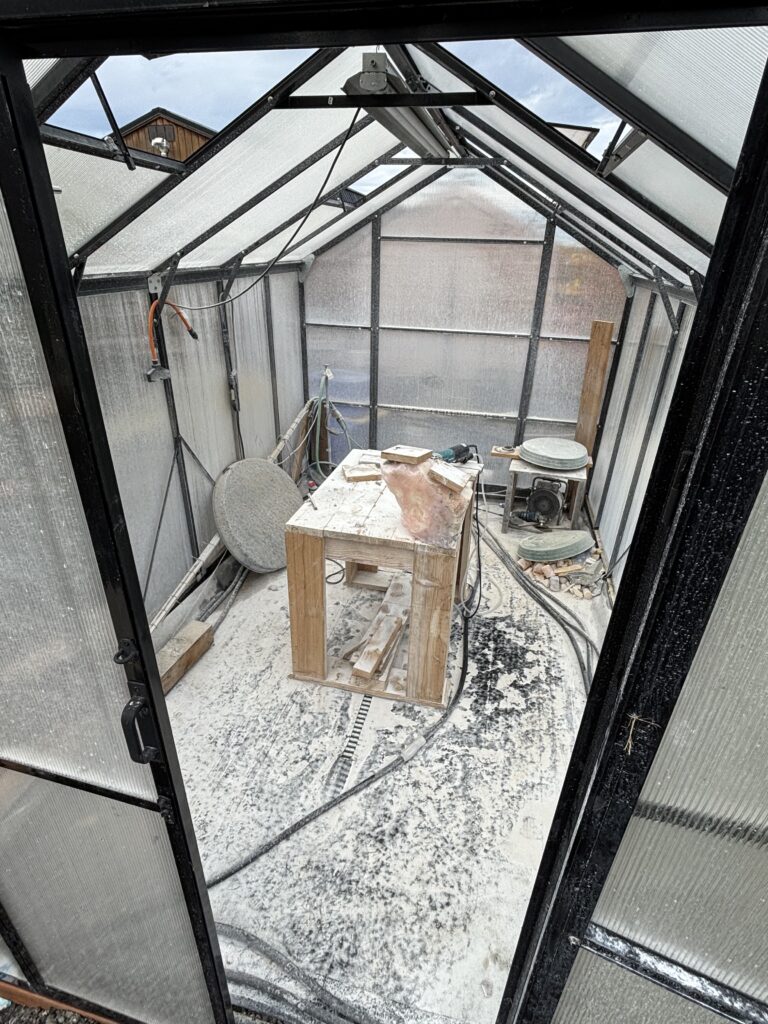
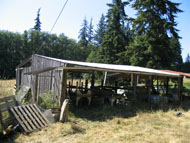
I primarily wet work stone, partially because my material choices require abrasive and cutting only, but mostly it’s because I hate dust, Yuck! While I’m sure it’s possible to adapt this studio concept to hand working and dry cutting with exhaust fans, this idea’s manifest intent is for wet work. Cold, wet and in the wind is no way to have fun–even with great rain gear it can be uncomfortable. So, I began to explore ways to make a mess away from the elements.
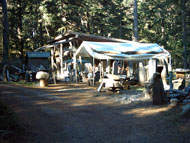
In the past I have built greenhouses and thought this would be a good container for my work, allowing for natural day light and getting a little solar heat here and there. I’m happy with how it turned out. At most big box stores they sell drain channels made for setting in cement for sloped driveways. The tops have removable grates, which allows me to easily clean out the sediment periodically. I bedded this drain channel into crushed rock and made a level sill out of 4×4 treated lumber to set the greenhouse on. On a slope, it’s best to face the door uphill as this allows the slope of the drain to easily exit the opposite side from the door.
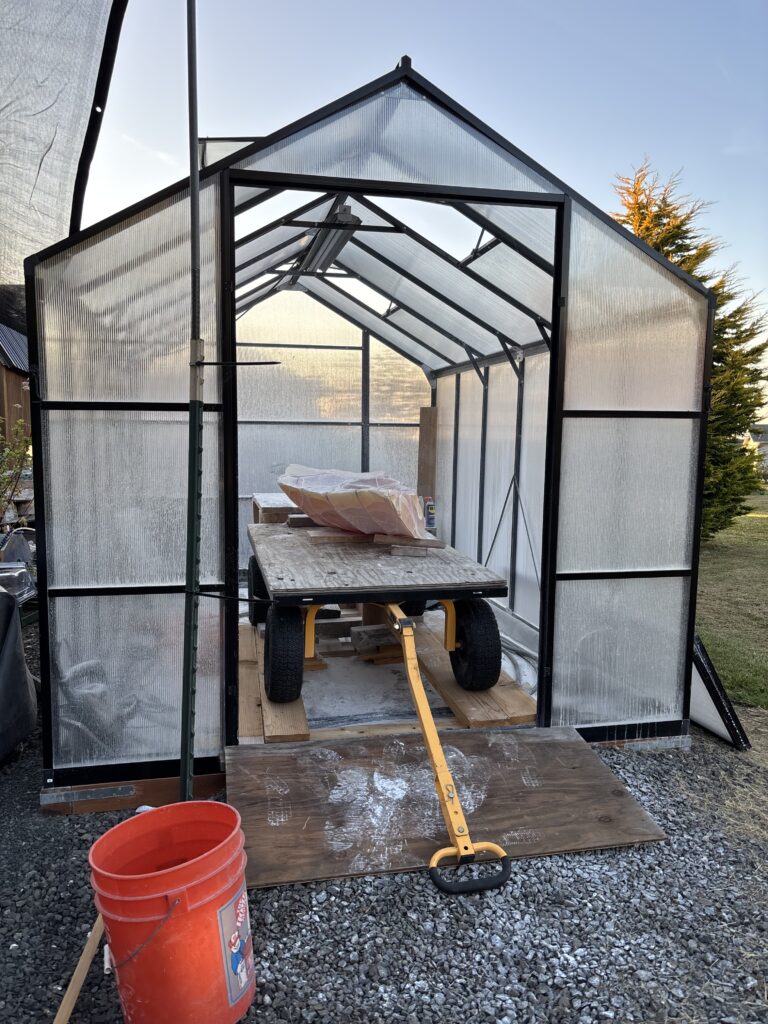
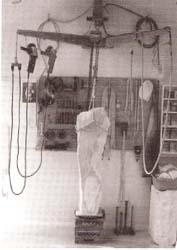
I bought some EPDM rubber pond liner and cut away a small opening right over the drain. This works like a perfect shower pan. All parts of the liner are sloped toward the drain, but it doesn’t feel like a slope when walking on it. Also, the black pond liner helps retain solar heat. I bought a relatively cheap greenhouse online and was particular about getting double doors so I can use my rock cart to roll right up to and away from the work bench. The walls are made of double-wall polycarbonate, and the rest is aluminum. It was easy to assemble. There are four roof vents that help let out excess heat.
Along the inside edge of the space I have a 100’ black hose that helps the water acclimate (warm up slightly). But before the hose and even the greenhouse, the water in the winter is 40 degrees F. So, I needed to bump this up a bit during the cold times to avoid my hands going numb. I ended up settling on heat trace tape that has a controllable thermostat. I bought a 30’ run of the heat tape and ran it back and forth on a 1” copper pipe with Zip ties every 4-5”. The ends have “sharkbite” press-on-to-pipe thread adapters, and pipe-to-hose thread adapters. I leave it set on 80 degrees F and the water ends up coming out of tools at about 65 degrees F. This is quite comfortable in the absence of wind if the sun is out. I explored all kinds of alternatives, but this one worked the best.

Last winter I was busy in the studio when it got down to the teens. I bought an electric greenhouse heater for about $100 and if I keep it on one-third power, it keeps the inside very comfortable. For power, I use a 20-amp GFCI-protected breaker for the lights, water warmer, and heater. For my polishers I use a 15-amp non-GFCI breaker as the tool has one built in. I do this to avoid the common nuisance of tripping, something I deal with a lot when trying to work off GFCI’s with polishers.
~ Max Crothers
Published Sculpture NorthWest December 2025 Issue